
This ro membrane housing diagram explains feed/brine/permeate ports, common 4040/8040 sizes, side-port vs. end-port layouts, and the orientation of end-cap parts (permeate tube adapter, interconnector, thrust ring/ATD, brine seal). Use it to verify piping before start-up and to avoid the classic errors that reduce permeate and raise ΔP. Always follow your OEM manual for torque, pressure rating and safety.
 1")
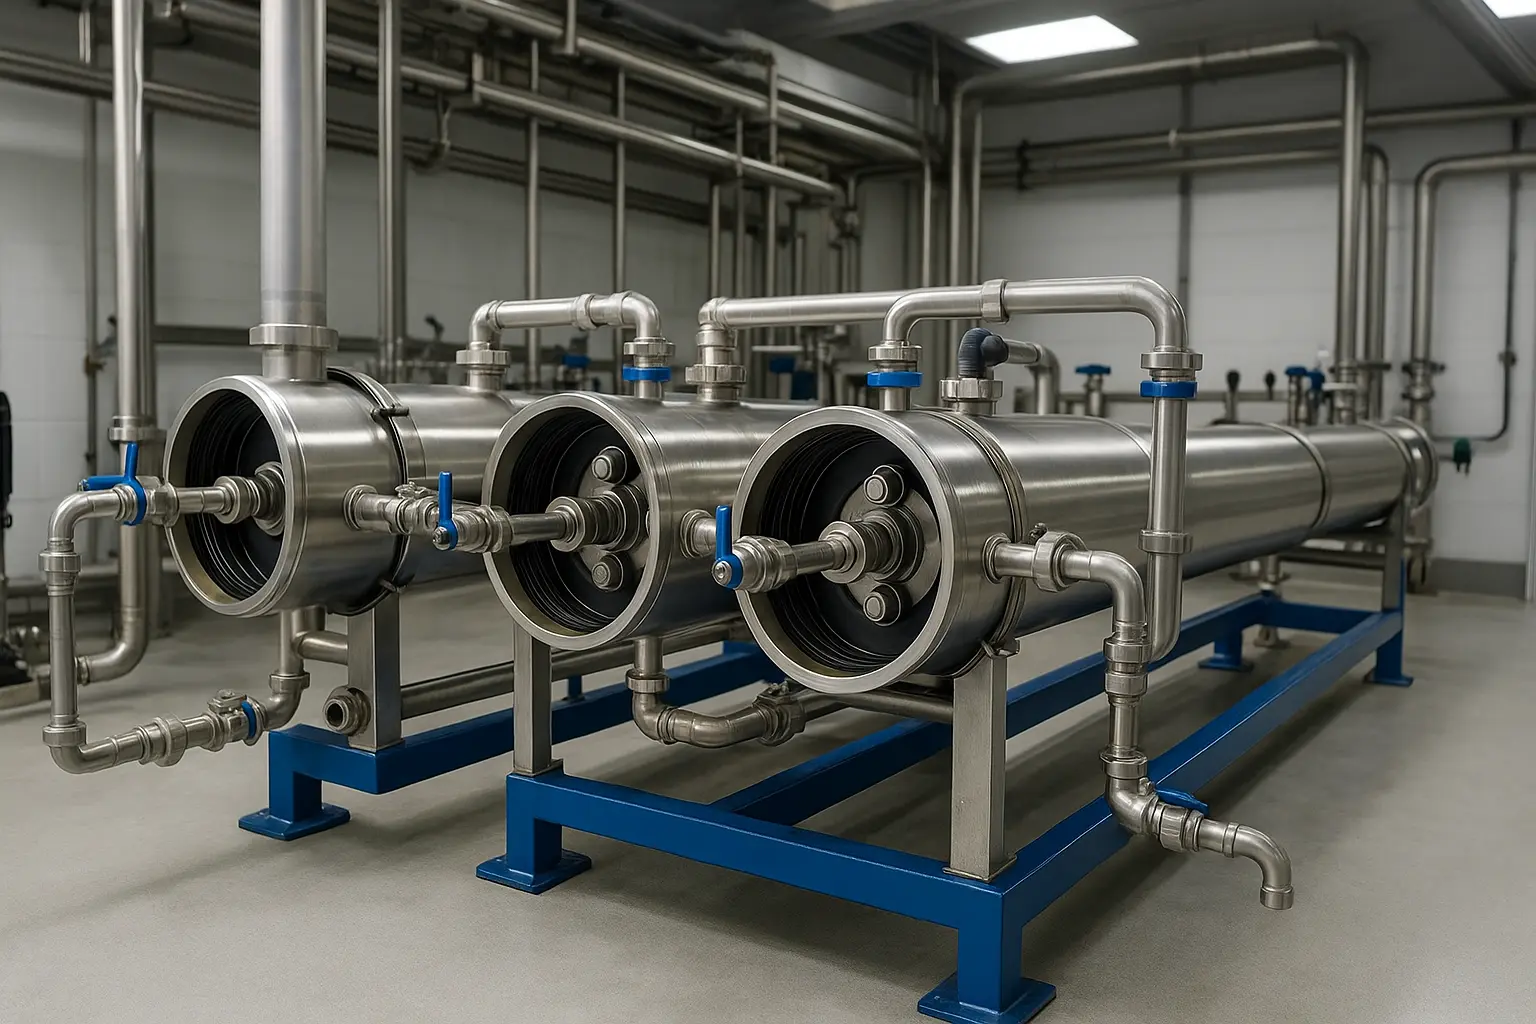
What the ro membrane housing diagram shows
The diagram labels the three essential connections of an RO pressure vessel (housing): Feed/Inlet, Brine/Concentrateund Permeate/Outlet. It also shows key end-cap components—permeate tube adapter, interconnector, thrust ring/anti-telescoping device (ATD) and the brine seal on the first element.
| tem | 4040 note | 8040 note |
|---|---|---|
| Port type | End-port common; side-port also used | Side-port very common in multi-element trains |
| Typical elements per vessel | 1–2 | 6–7 |
| Permeate connection | Small manifold or single outlet | Header manifold, add check to prevent backflow |
More photos and field shots: installation diagram of reverse osmosis membrane.
Piping & connection basics
Feed → Brine path (flow direction)
The feed enters the first vessel, travels along the element feed spacers, and leaves as brine/concentrate. Reversing the path causes abnormal ΔP, poor permeate and risks “telescoping” of elements. Confirm flow arrows or port labels on the housing.
Permeate manifold (header)
Permeate from each vessel connects to a header. Design to avoid siphon or backflow during emergency stops—add a check valve and keep the header pitched to the outlet.
4040 vs 8040 housings
4040 vessels are shorter with smaller port sizes; 8040 vessels host 6–7 elements and require larger manifolds and supports. Never mix adapters or interconnectors between sizes—leakage or misalignment can occur.
Side-port vs end-port
Side-ports reduce piping congestion in long arrays and ease maintenance; end-ports are compact for small skids. Choose per layout and pressure drop. Always match OEM pressure rating.
End-cap parts & orientation
- Permeate tube adapter: aligns with the element permeate tube; keep it clean and fully seated.
- Interconnector: joins adjacent element tubes; inspect O-rings for cuts or swelling.
- Thrust ring / ATD: supports the element to prevent telescoping under high ΔP.
- Brine seal: the lip faces against feed flow (toward the vessel wall) to stop bypass.
- O-rings: use compatible, food-grade lubricant; never use mineral oil that can attack the membrane.
Follow the element and housing OEM manuals for torque specs, lubricant type, and pressure test limits.
References (tech overviews): DuPont FilmTec resources, Hydranautics, Toray RO.
Typical ro membrane housing diagram
Single vessel, single element (4040)
Used for pilots and compact lines. One feed, one brine, one permeate outlet. Add a sample valve on permeate.
Single vessel, multi-element (8040×6/7)
Elements loaded end-to-end; permeate joins the header; brine goes to drain or the next stage.
Two-stage array (2:1 or 3:2)
Stage-1 brine feeds Stage-2. Control interstage pressure and add monitoring points for ΔP and conductivity.
See sizing and element choice: 4040 vs 8040 explained.
Installation checklist
- Verify parts: housing model & rating, end-cap kit, O-ring sizes/materials, adapters, interconnectors.
- Clean & lubricate: approved silicone/food-grade grease only; no petroleum products.
- Orientation: confirm flow direction; align brine seal lip against feed; center the permeate tube.
- Piping fit-up: align manifolds without forcing; add checks on permeate header; provide drains & sample taps.
- Low-pressure leak test: pressurize gradually, check all joints; then flush until feed quality meets RO specification.
- Record baselines: normalized permeate flow, ΔP, salt passage/conductivity, recovery, temperature.
 2")
Common mistakes & quick fixes
- End caps swapped or misaligned: symptom = internal leak/cross-stage mixing → re-seat adapters and interconnectors.
- Brine seal reversed: symptom = low permeate, high salt passage → reload first element with correct lip direction.
- Permeate header backflow: symptom = contamination after stops → install check valves and pitch header correctly.
- Wrong lubricant: symptom = swollen O-rings, leaks → replace O-rings and re-lube with OEM-approved grease.
- Mixing 4040/8040 adapters: symptom = leaks/misalignment → use correct size kits per vessel and element.
QA, pressure test & documentation
Perform static/low-pressure leak checks per housing OEM. Flush until residual oxidants/particles meet RO limits. Archive: assembly sheet, batch numbers of O-rings and elements, leak test results, and baseline operating data. For potable applications, see NSF/ANSI guidance.
Bill of materials (BOM) & related parts
| Item | Anmerkungen | Where to buy |
|---|---|---|
| RO membrane housings (4040/8040, side/end-port) | Pressure rating and port layout per P&ID | Accessories |
| End-cap kits, permeate adapters, interconnectors | Match size and brand | Accessories |
| O-rings (EPDM/Viton) | OEM approved; grease compatible | Accessories |
| Check valves, gauges, sample valves | For permeate header and monitoring | Accessories |
Process context and O&M: see the RO water treatment system overview.
FAQs
Which side is the feed on an RO membrane housing?
Follow the flow arrow or port label. The feed enters the first vessel, travels along spacers, and exits as brine. Reversing it causes high ΔP and low permeate.
What’s the difference between side-port and end-port housings?
Side-ports ease manifold routing in long arrays and reduce pressure drop; end-ports are compact for small skids. Choose based on layout and OEM rating.
How do I connect permeate from multiple vessels?
Use a pitched header with check valves to avoid backflow and contamination after shutdowns.
Can I rotate end caps to align piping?
Yes, but re-check O-ring seating, adapter alignment and locking rings before pressurizing.
What happens if the brine seal faces the wrong direction?
Expect low permeate and high salt passage. Reload the first element with the lip facing against feed flow.
Next steps: get your connection plan reviewed
Upload your P&ID or port list and we’ll return a connection check, BOM suggestion and a quick risk note within 24 hours.
Stark Water Engineering Team — RO design, retrofits & commissioning