


Last updated: November 7, 2025 · Reading time: 12–16 minutes · Penonton: RO operators, plant managers, EPCs
When RO salt rejection decline shows up as rising permeate conductivity/TDS, a disciplined diagnostic workflow finds the root cause fast. This guide walks you through instrument checks, per-stage/vessel sampling, element-level probing with a 1/4″ tube, signature patterns (O-rings, adapters, tears, scaling/fouling), and targeted fixes—so you can restore compliance quickly and safely.

RO salt rejection decline Symptoms & Definitions
- Salt rejection (%):
R = (1 − Cp/Cf) × 100, where Cp dan Cf are permeate and feed TDS (or conductivity) at the same temperature. - Salt passage (%):
P = 100 − R. Many sites trend P because small increases are easier to see. - Normalize before judging: compare at similar temperature/recovery; trend by stage and vessel.
Step 1 — Instrument & Operating Check (Eliminate False Alarms)
- Calibrate conductivity meters (cell constant, temperature compensation); verify lab/online agreement.
- Confirm flows/pressures and setpoints; ensure no bypass/flush valve left open; check sample taps are not tied to a common header.
- Run a quick mass balance: feed vs permeate vs concentrate EC—numbers should make physical sense.
- Note any recent changes: recovery, antiscalant/pH program, pretreatment upsets (SDI/NTU spikes), temperature swings.
Step 2 — Map the Pattern by Stage & Vessel
Sample the permeate of every pressure vessel within each stage. Compute salt leakage per vessel:
Vessel salt leakage (%) = (Permeate TDS ÷ Stage feed TDS) × 100- Later stages naturally show higher leakage (their feed is the previous stage’s concentrate). Compare vessels inside the same stage to spot outliers.
- Keep isolation strict—avoid mixing in common headers while sampling.
Step 3 — Identify the Offending Vessel
Within a stage, a single vessel with much higher leakage indicates a local assembly or element defect. If all vessels drift similarly, suspect chemistry/operation (oxidation, wrong pH, scaling/fouling) or aging.
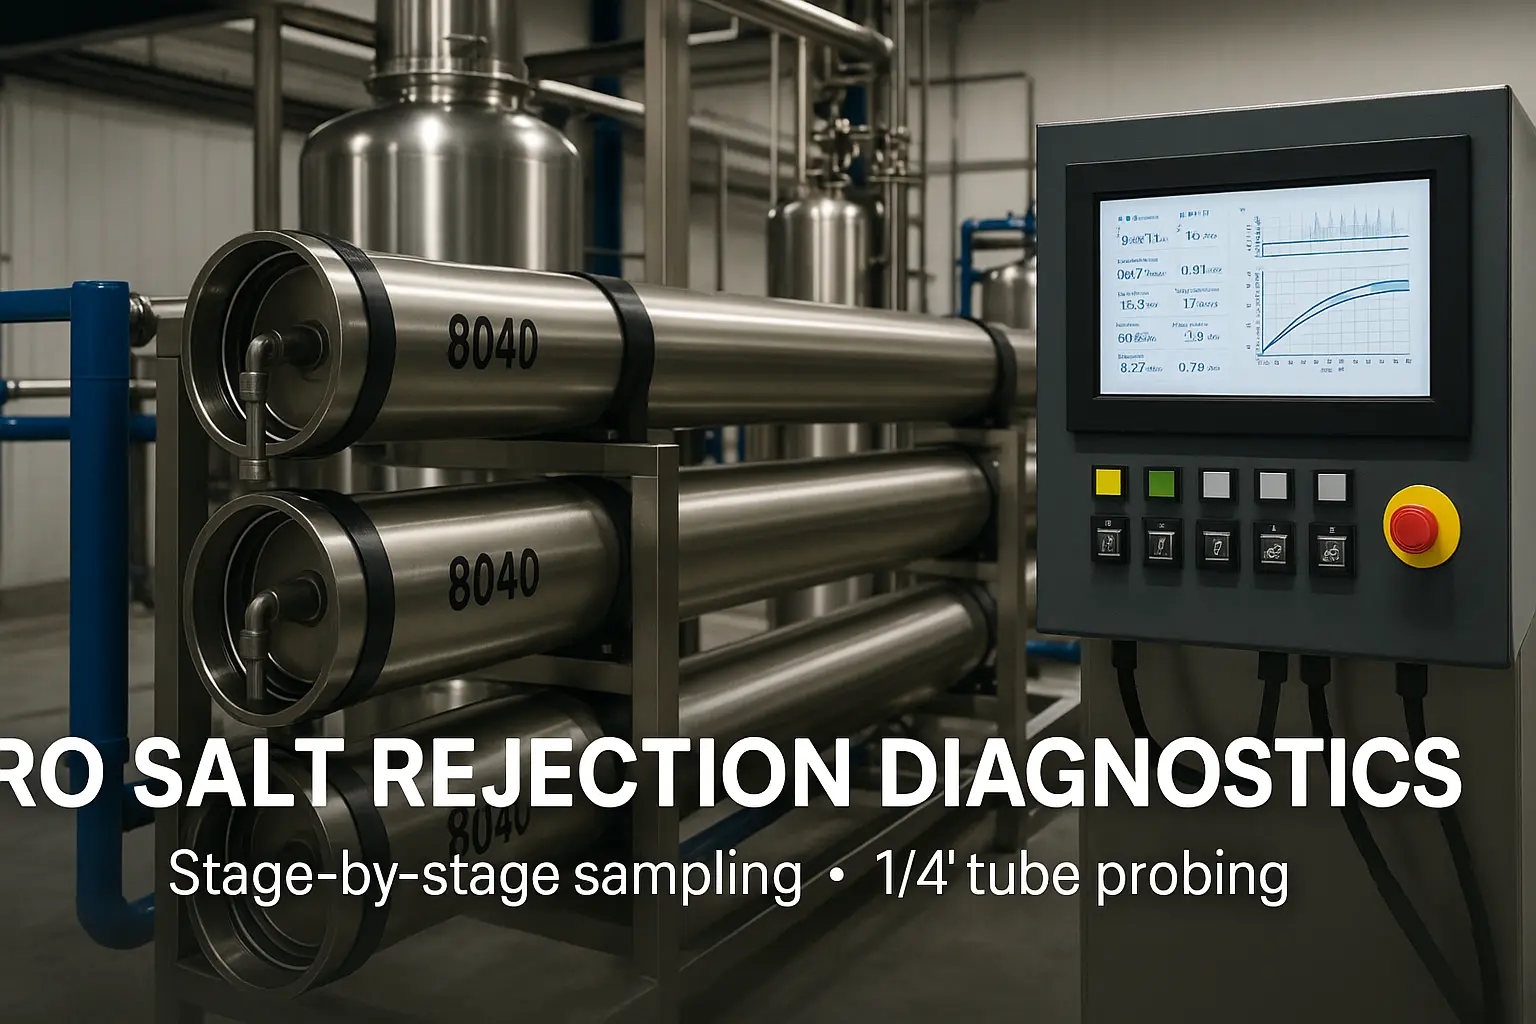
Step 4 — Element-Level Probing with a 1/4″ Tube
Use a ~1/4″ plastic tube to sample inside the permeate tube of the suspect vessel. Let the reading stabilize after each position.
- Insert to the deepest end; take the first reading about 6″ from the end (adapter zone).
- Withdraw in 8″ increments and measure at each position—these align with element interconnects.
- Interpretation: a smooth trend is normal; a sharp step increase at an interconnect indicates an O-ring/adapter leak. A single element with high permeate flow + low rejection suggests a torn leaf or cracked permeate tube.
RO salt rejection decline Signature Library — What the Pattern Means
| Observed pattern | Likely cause | Quick checks | Immediate action |
|---|---|---|---|
| All vessels high & similar | Membrane oxidation/hydrolysis; chronic pH/chlorine exposure; wrong element spec | Free chlorine history, pH limits vs datasheet, vendor type | Stop oxidants; verify dechlorination; consult vendor; plan staged replacement |
| Stage-1 high; later stages normal | Compaction or upstream particulate/biofouling | SDI/NTU, ΔP slope, start-up/standby history | Low-pressure flush; review pretreatment; condition-based CIP |
| Terminal elements (late stage) high | Scaling (CaSO4/silica) from over-recovery or poor dosing | Limiting salts, recovery setpoint, antiscalant model | Lower recovery; urgent antiscalant/pH correction; targeted CIP |
| Single vessel abnormal | Cracked endcap/permeate tube; brine-seal mis-seat; wrong orientation | Visual during shutdown; endcap integrity | Restack; correct brine seal; replace damaged parts |
| Step change at interconnects on 1/4″ probe | Interconnector O-ring/adapter leak | EC jump exactly at 8″ increments | Replace/grease O-rings; verify adapters |
| One element: high permeate flow + poor rejection | Torn membrane leaf; glue failure; broken permeate tube | Flow anomaly vs neighbors | Replace suspect element; inspect tube |
RO salt rejection decline Corrective Actions — Fast to Permanent
- Immediate controls: isolate suspect vessel, lower recovery/pressure, run low-pressure flush, stabilize pretreatment.
- Mechanical fixes: restack elements, replace/grease O-rings, correct brine-seal orientation, replace damaged adapters/endcaps.
- Chemical/process: perform targeted CIP if scaling/fouling is indicated; re-model antiscalant for limiting salts; adjust pH/alkalinity and confirm dechlorination.
- Preventive: alarm bands for product EC rise; SOP for vessel sampling and 1/4″ probe logging; seasonal setpoint review.
Sampling SOP & Data Sheets
- Per-vessel sampling sheet (time, flows, pressures, EC/temperature, TDS, remarks).
- Element probe log with marks at 6″ + every 8″ to match interconnects.
- Normalization worksheet: temperature-corrected flux, ΔP, salt passage.
Need templates? Visit Alat Air Stark atau request a diagnostic pack.
References & Further Reading
Background on monitoring and water quality fundamentals:
Get a Targeted Fix List
Upload your per-vessel salt leakage chart and 1/4″ probe log. Our engineers will identify the most likely failure (mechanical vs chemical) and propose a recovery setpoint to stabilize rejection.
Talk to an Engineer - Water Treatment Solutions - Case Studies - More Guides
About the Author
Stark Water — RO/NF process engineers specialized in diagnostics, scaling control, and lifecycle cost optimization. We help plants troubleshoot RO salt rejection decline with fast, evidence-based methods.
FAQs — RO Salt Rejection Decline
1) How do I normalize salt rejection correctly?
Compare permeate and feed at similar temperature and recovery. If needed, correct conductivity to 25 °C and trend by stage rather than whole-plant averages.
2) What if my vessels have no individual permeate taps?
Install temporary taps or use staged isolation and header sampling with stabilization periods. For chronic issues, retrofit test ports.
3) How long should I wait before reading the 1/4″ probe sample?
Allow a short flush at each position (e.g., 15–30 s) until the EC stabilizes; record both EC and temperature.
4) What EC pattern indicates O-ring/adapter leakage?
A step increase exactly at interconnect positions (8″ spacing) with otherwise normal flow. Replace O-rings, lubricate, and re-assemble.
5) When do I switch from diagnostics to CIP or replacement?
If a vessel-specific cause is confirmed, fix mechanically first. If scaling/fouling is indicated across multiple vessels, run a targeted CIP. Replace oxidized/aged elements.